Google Forms is a feature available in both Google Workspace and the free version of Gmail. Its versatility allows employees to conduct research on a selected topic and learn about the opinion of their colleagues. In addition, it is also useful when creating your personal plans. Teachers will also use it because Google Forms gives them the ability to create tests.
The survey can be created by a couple or even ten or more people, and its results are very easy to interpret, thanks to the visualization of charts and diagrams. Working with Google Forms has many advantages, and they only take a few minutes to create.
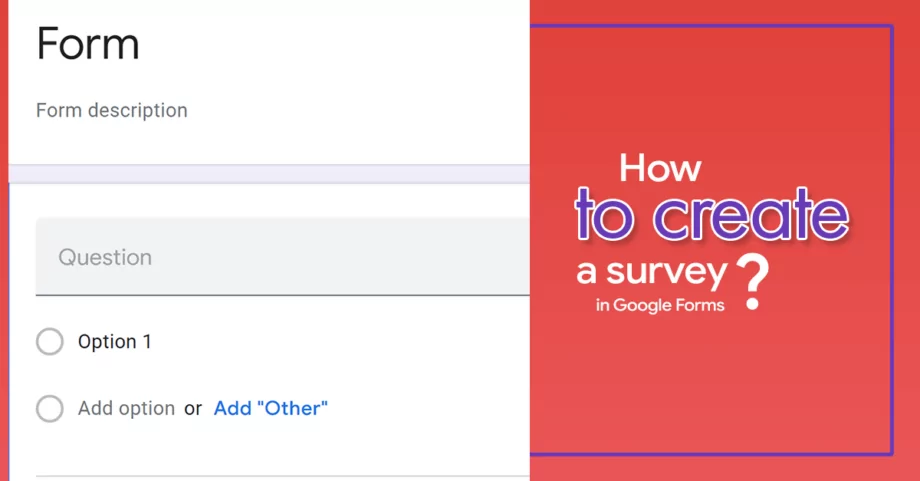
How to create a Google Forms survey step by step?
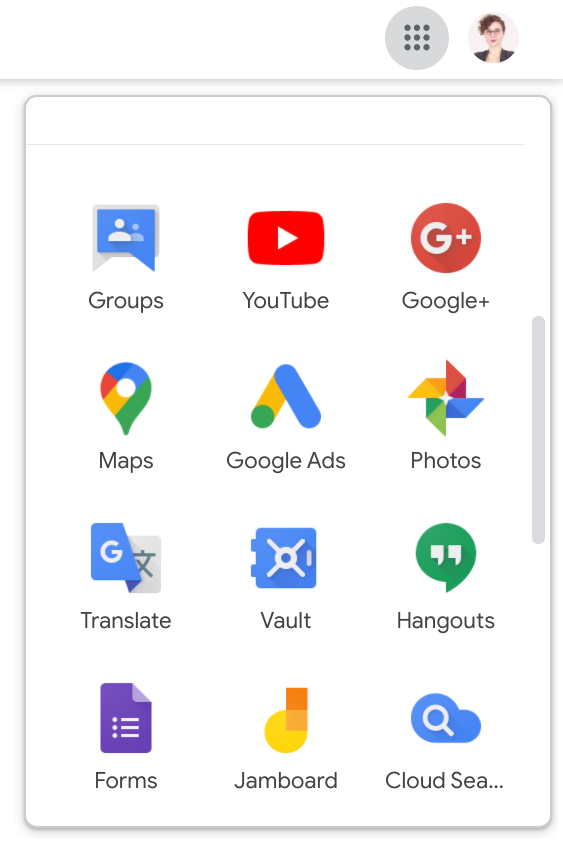
1. First, log in to your Gmail account and open the Forms application or go to https://docs.google.com/forms
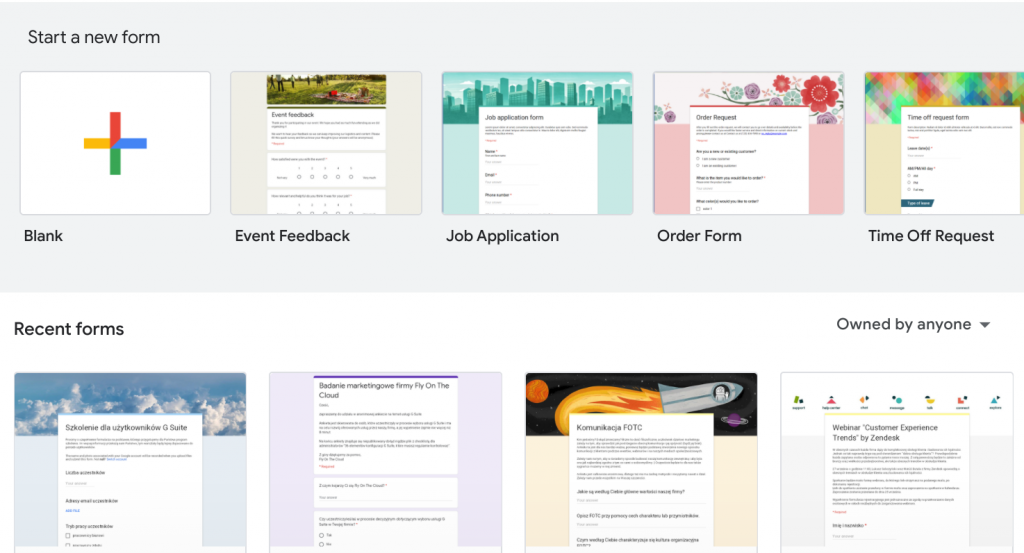
2. Click the + button in the upper left corner to create a new form
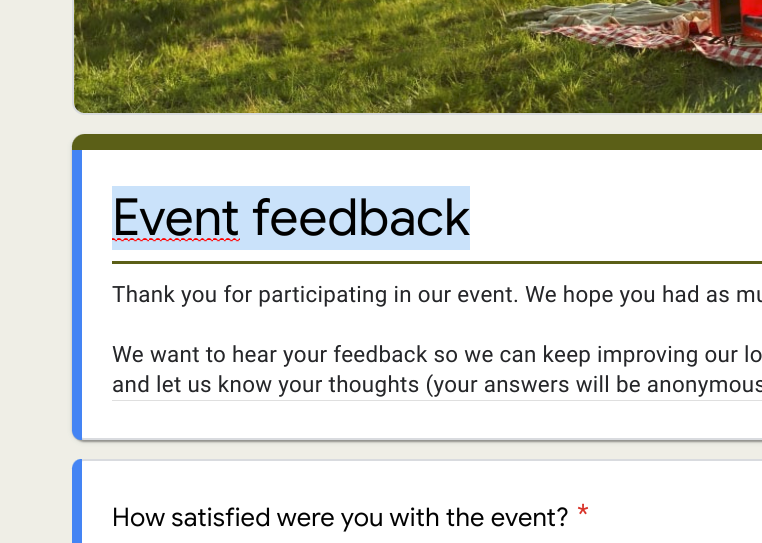
3. Change the name of the form by entering its title in the “Untitled form” field. Below is a description of the form in which you can present the purpose of the survey, inform when the results will be presented and what they will be used for.
4. You can modify the design of the survey by choosing a color, theme photo and font style.
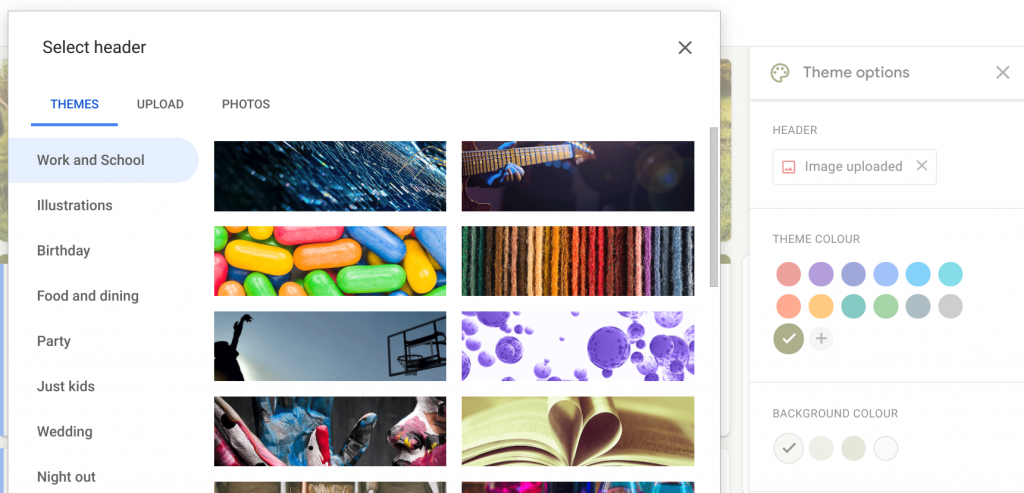
Google gives us the opportunity to choose one of the themes adapted to different occasions, or to upload your own photo.
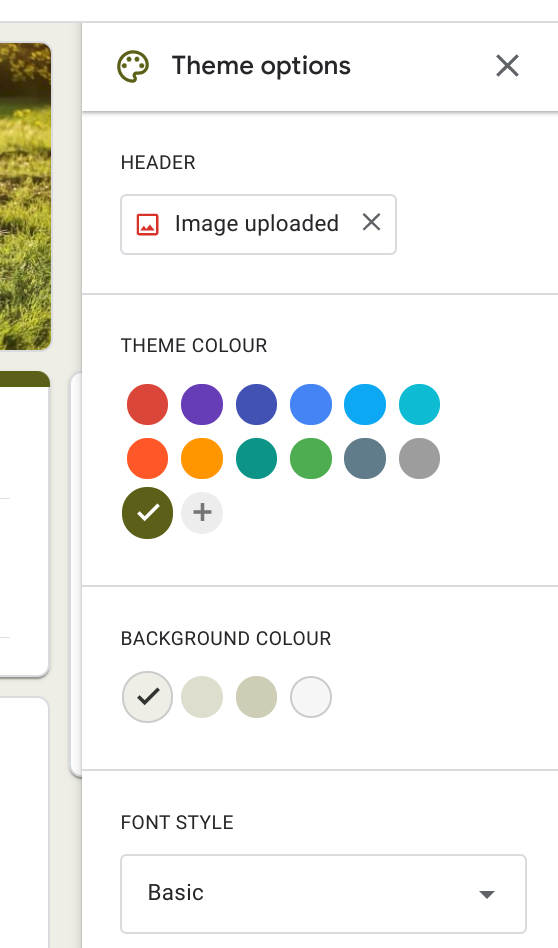
If you do not want to decide on any of the themes, you can choose one of the twelve survey colors.
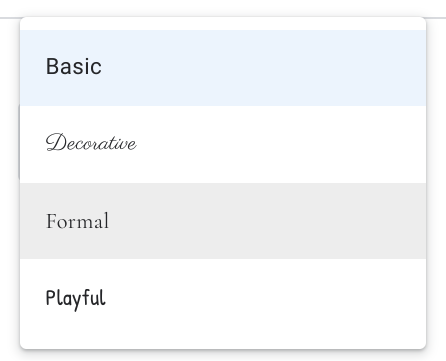
It is also possible to personalize the font.
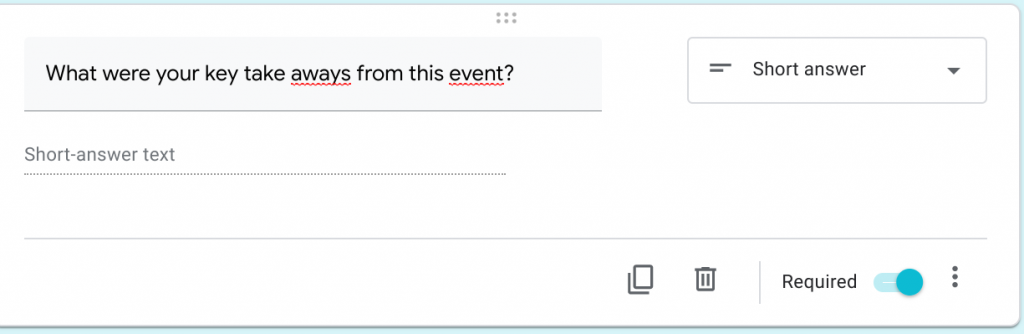
5. Ask a question by entering it in the “Untitled Question” field
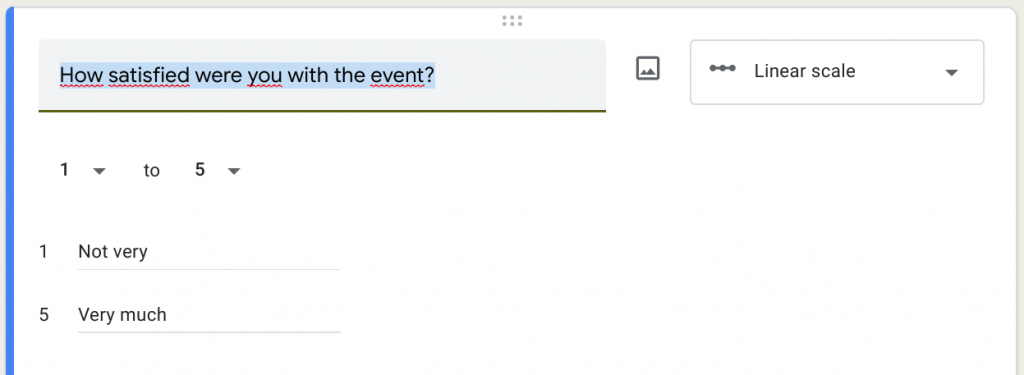
Depending on the form of the question asked, the survey will adapt the most appropriate answer format.
However, if you want the response format to be different than the suggested one, expand the list and choose the option that is more suitable.
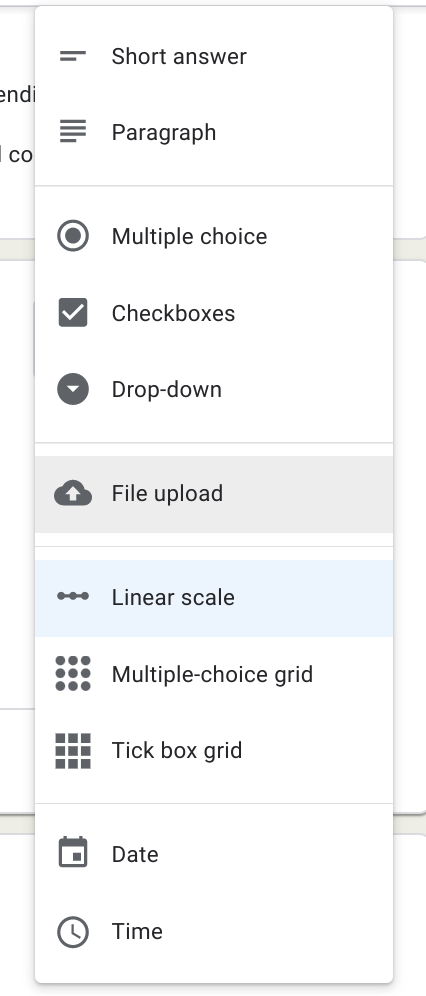
We can choose:
- short answer (allows you to enter a response containing several words)
- paragraph (gives the opportunity to enter answers to one or more paragraphs)
- multiple choice (participants can choose one of the options)
- checkboxes (participants can choose several options)
- dropdown (users choose one of the options)
- file upload (users can submit a response file in the format we choose)
- linear scale (users can answer the question by marking the value on the scale)
- multiple choice grid (only one answer can be selected)
- checkbox grid (several answers are possible)
- date (you can enter any date) time (it is possible to enter the time or time period)
If the answer to the question is very important to us, we can mark it as required by selecting this option in the bottom right corner.
6. To add another question, click + on the right side of the form
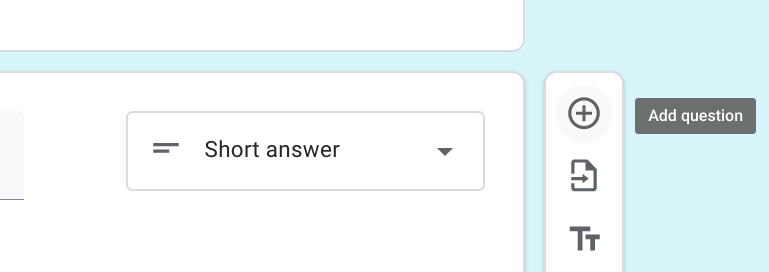
7. By creating a survey, you have the option of adding a photo or video to it.
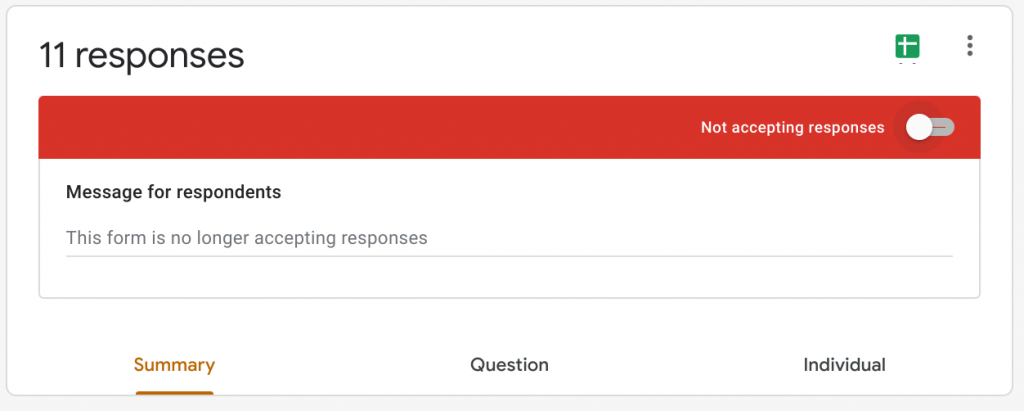
8. After obtaining the expected number of responses, we can close the form, leaving a message that appears after clicking the link.
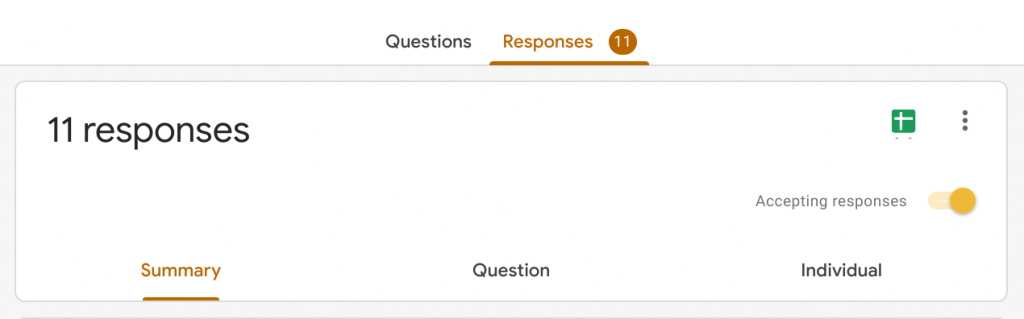
9. All answers are recorded in the “Answers” section. Depending on the saved settings, this data is available to the survey owner or colleagues. We can analyze the answers separately or as a graph summarizing the opinion of all respondents.
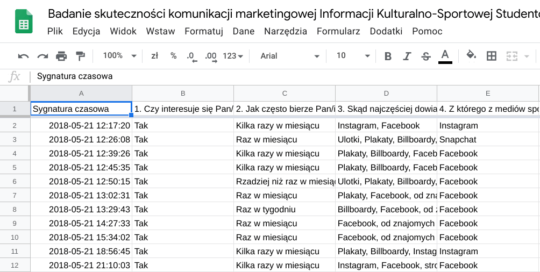
Google Forms are integrated with Sheets, which allows you to analyze responses from Google Sheets. To do this, click the green button in the upper right corner of the “Answers” tab and select the appropriate sheet or create a new one.

After creating a new spreadsheet, the answers to the questions will be displayed to us as follows.
10. Form settings allow us, among others, to show the progress bar and randomize the questions we have prepared. In addition, it is possible to assign each answer a point value and publish grades.
This section also allows us to
- collect email addresses – if we choose this option each of the respondents will be required to provide their email address
- send response receipts – by selecting this section, each respondent will receive a copy of their answers by email
- restrict the survey to users in a given domain – if you use the company version of Forms, you can decide whether your survey is only intended for employees and contractors of our company
11. Form sharing
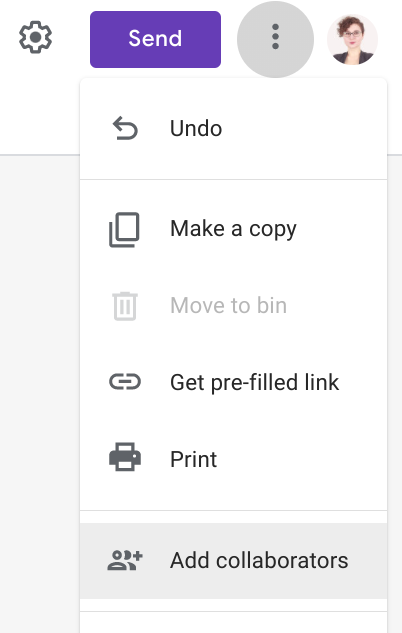
To share the form, click the three dots in the upper right corner. Then select “Add collaborators”. You can decide what permissions each user will receive. You can edit, comment or view only.
You can also invite someone to complete the survey by clicking “Send”
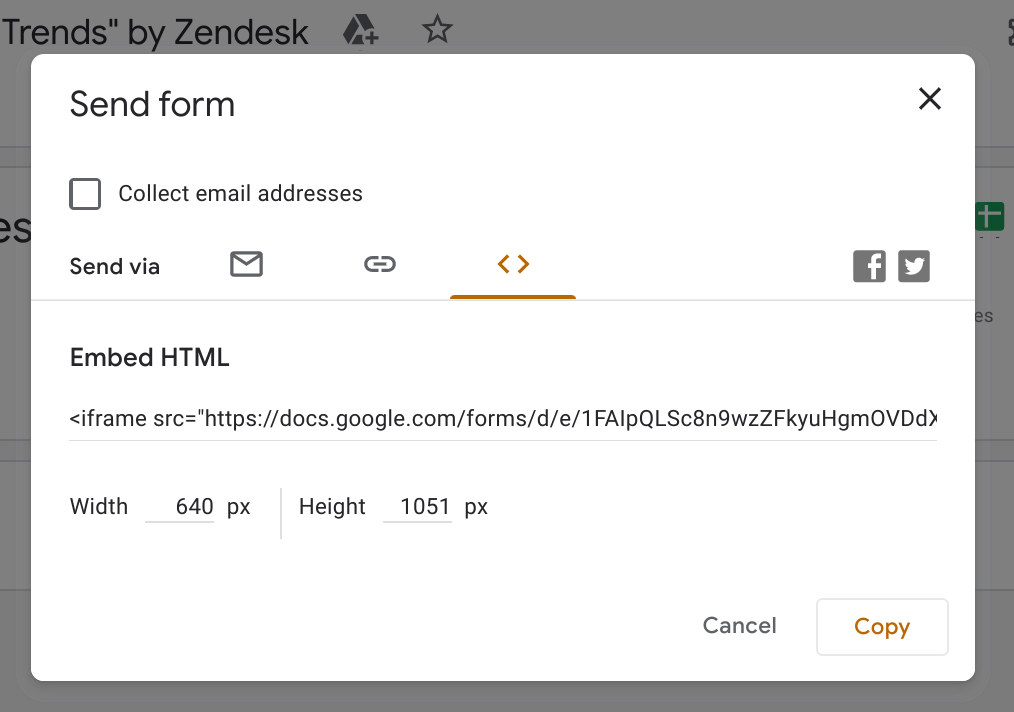
Then invite selected people by adding their email addresses or copying the survey link. You can also download the HTML code, which allows it to be placed on a website.
12. Thank you message
You can add a thank you message for completing the survey. You can do it by going to settings and then selecting the “Presentations” section. The information that we want to provide is entered in the “Confirmation message” box.
People completing the survey will see it after submitting their response.
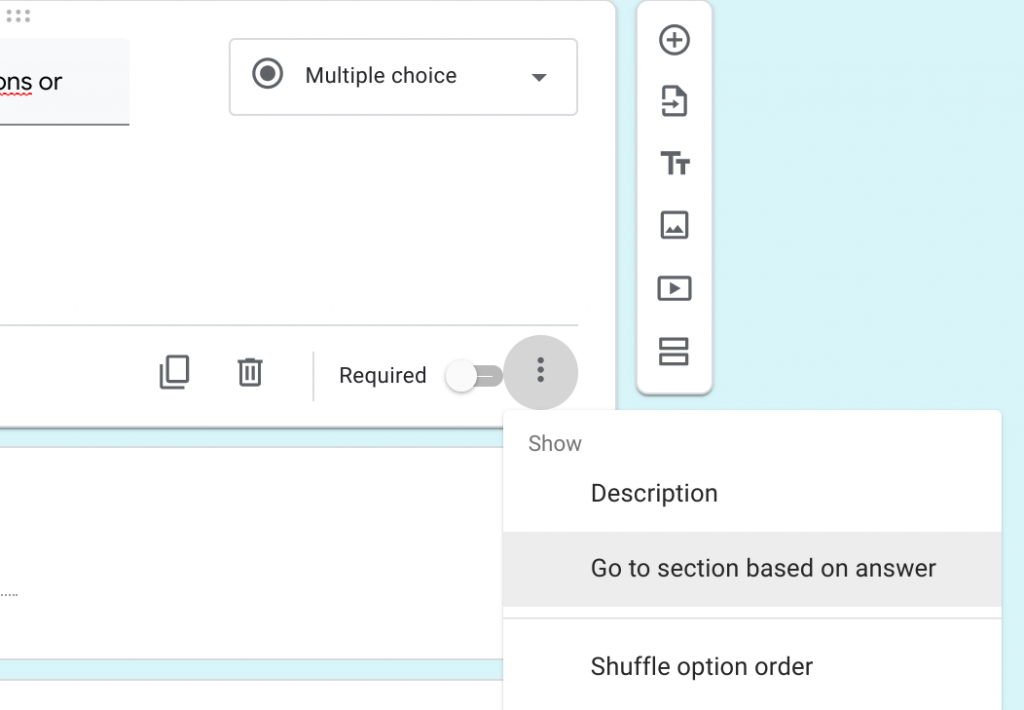
13. Moving to section based on answers
If we want the subsequent questions be displayed to them based on the previous answers, we have the option of using the “Go to section based on answer” option. You can do this after creating a multiple choice question or a dropdown by clicking three dots in the bottom right corner.

Then select the section to which the person should be redirected after selecting the answer.
See also:
 By continuing to use the site, you agree to the use of cookies.